Thank you everyone for all the very kind comments on my last post! You are all the best!! Some of you were no-reply, so I couldn’t send you a thank you…so thank you!!
I received a ton of emails. I am still trying to read through them all, but many were asking about the quilting specifics, so I am going to try and answer them the best I can. I took a lot of photos as I was quilting to help me remember how I did things. Hopefully, those will help you visualize my process.
How did I come up with the design? Did I premark?
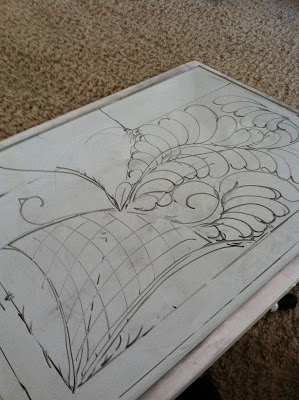
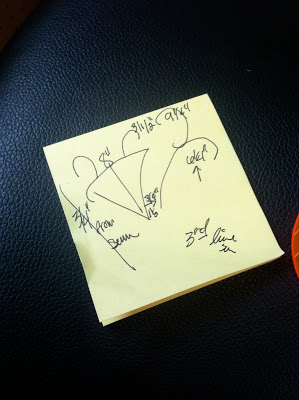
I had some ideas in my head after doing some research, but I didn’t come up with the design until the quilt top was on my machine. That’s how almost all of my quilting ideas come to fruition. Usually, I cannot “see” the design until the quilt is on the frame. It’s kind of like…do you remember those prints where you have to stare at them and then all of the sudden the image pops out like its 3-D? Well, that’s kind of what it’s like for me when a top gets on my machine. No, I did not premark. I rarely premark on any of my quilts. Only if I have to. I do draw on my whiteboard quite a bit, though. I like to get a feel for the design by drawing it first. That’s a big help to me. That really helps me weed out designs that don’t work. Here are some different drafts I tried for the corner motif, none of which I went with, but it’s better than picking out of a quilt!!! 🙂

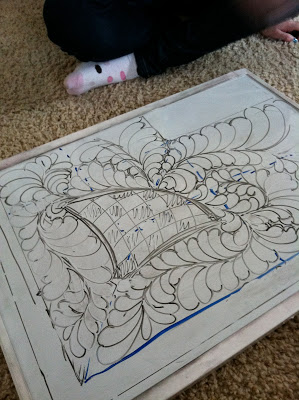
I usually have two really sweet onlookers watching me work. You can see Alyssa’s cute little socks in that pic.
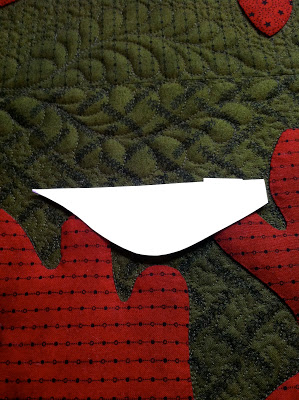
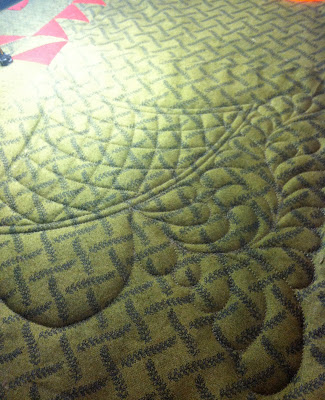
This is more of what I went with. I drew it on paper and laid it on the quilt to see if my configuration was pretty close. I use school chalk to draw on tops as well. Again, drawing helps me to see what works.
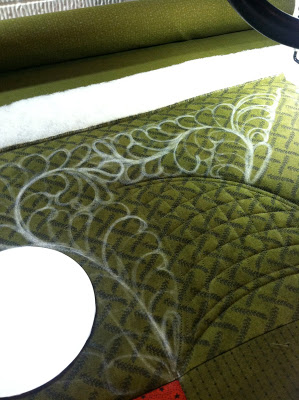
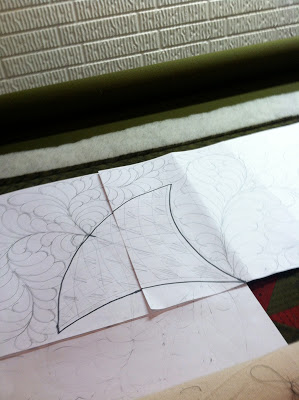
I made some circle templates out of card stock for spacing and the spine of the feathers. These are large borders, so creating a very curvy spine helped fill the space without compromising the look of the feathers by making them too big.
What templates did I use? I made a couple of my own out of card stock. Some circles, a tear drop and one for the spines of the feather design within the quilt. This one is for the spine of the feathers within the quilt.
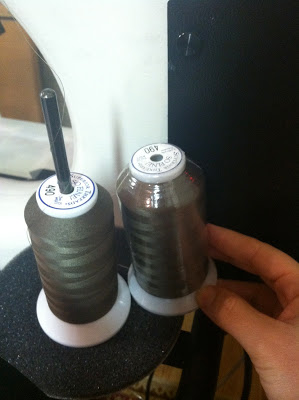
Not high tech, but it works!! I freehanded the design and then had one of my girls shine a light from under the quilt so I could draw it on paper and there you go. All my feathers would look consistent. I used three different curved cross hatch rulers for cch designs.
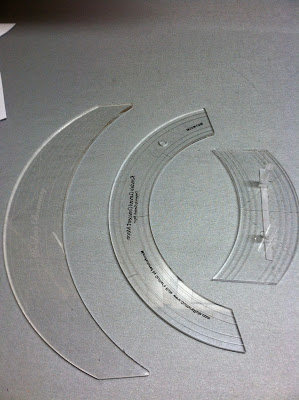
I plan on doing a template post eventually. From left to right, Deloa’s Boomerang 15″, Rhonda’s small Curved Crescent Moon and Fine Line Continuous Curve Rulers. They each brought a little something different to the design. All trial and error until I came up with what looked like I wanted it too. I LOVE the Fine Line Rulers.
Did I turn the quilt? That’s when a longarm quilter will quilt down the quilt, remove it, turn it so the borders that were originally going down the sides will now be on the top and bottom, repin and quilt. There are times when it’s easier to quilt borders and certain designs by doing this. Sometimes I do this. Depends on the quilt and circumstances. I did not on this quilt. I quilted as much as I could in the space and then I would advance the quilt as I go. Quilting the borders along the way. This is a large quilt at 90″ x 90″, so turning it would have been somewhat of a task. It was just simpler for me to quilt as I go. This is why it’s really important to practice quilting feathers and designs in every direction. It does take practice and time to train your brain!!!
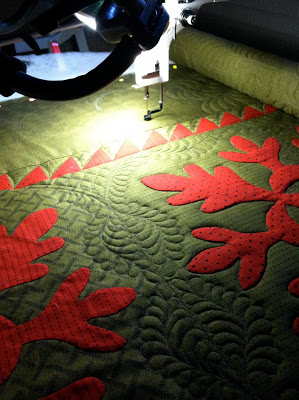
Whenever I get to the bottom of quilt, the last border is probably the most challenging…usually because I’ve forgotten how I quilted the top border! LOL!! Especially with this quilt. There was a little time lapse between borders. 🙂 The motif in the corner felt a little awkward because I had to quilt it upside down. I try to take notes to help jog my memory.
I know this is a long post, but I hope that helps answer the questions I received. I had photos from before it was quilted and the back of the quilt, but I somehow lost them when I had to get a new phone. Long story…but I’m on my 3rd iPhone. The back was amazing!!! It looked just like a wholecloth quilt. I believe I sent LB some photos, so I might be able to post one.