We are halfway through Stitch Pink already! Are you keeping up?
I have been posting my blocks daily on Instagram here, as well as my Facebook Page here if you would like a daily post on blocks.
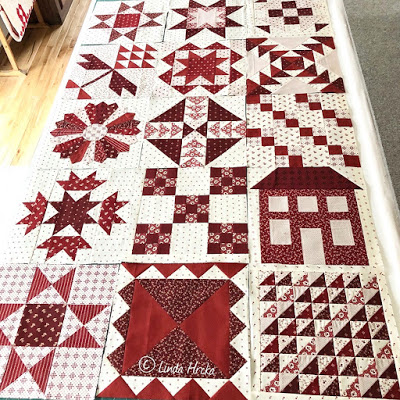
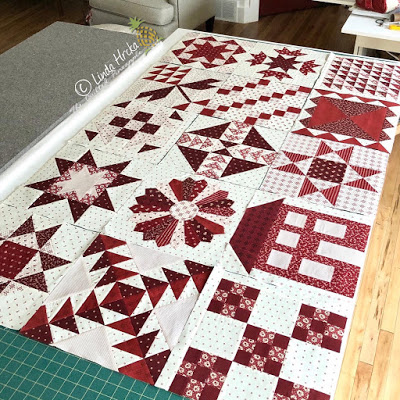
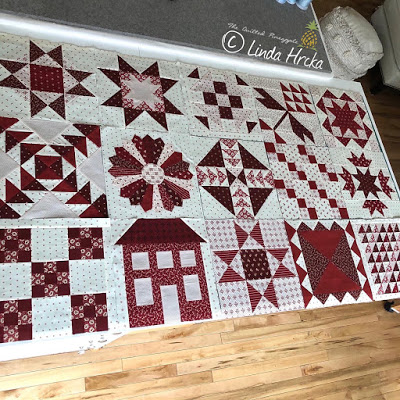
Block 8 – Fly Away Home
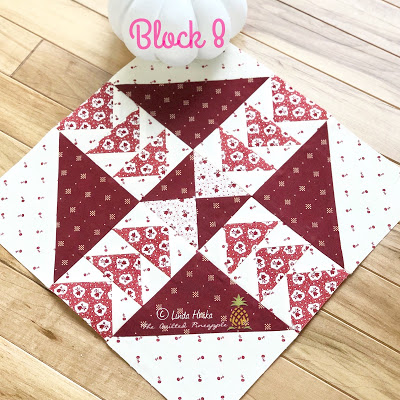
There was a time that I swore off all blocks and quilts with Flying Geese! It is amazing what a little practice and patience will help you overcome because now I love Flying Geese. I used the Creative Grids Flying Geese ruler. Directions for Block 8 here.
Block 9 – Breaking Rules
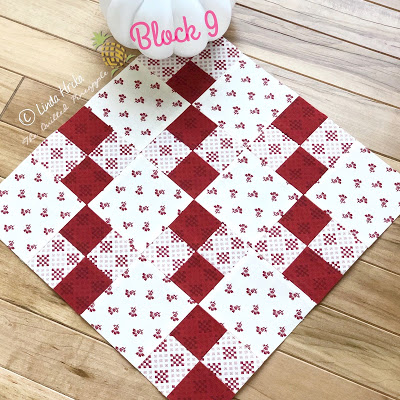
Simple, yet so striking. Stitched up super quick. Directions for Block 9 here.
Block 10 – Helen
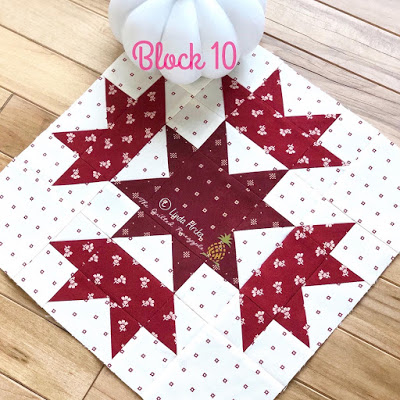
I love this block so much! I think it looks like little crowns surrounding the sawtooth star in the center. Again, I relied on the Creative Grids Flying Geese ruler to make my flying geese. Directions for Block 10 here.
Block 11 – Five and Nine
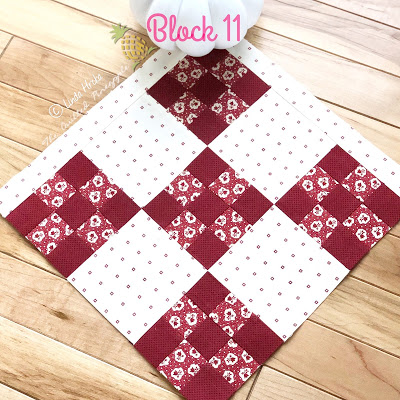
Nothing better than a good old reliable Nine Patch. Another Favorite!! Some of my favorite quilts are ones that are only composed of Nine Patch blocks. Simple and beautiful! Directions for Block 11 here.
Block 12 – House on the Hill
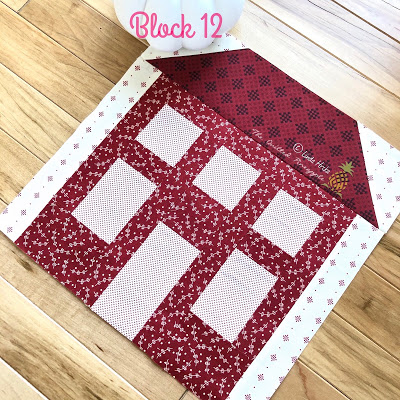
Fabric placement definitely made a difference in this block. I think the roof fabric makes the block. Perfect for a shingled roof. The block went together with ease. Perfect instructions. I know some house blocks have tricky or odd sizes when it comes to stitching the roof, but not the case here. Directions for Block 12 here.
Block 13 – Rock and Roll
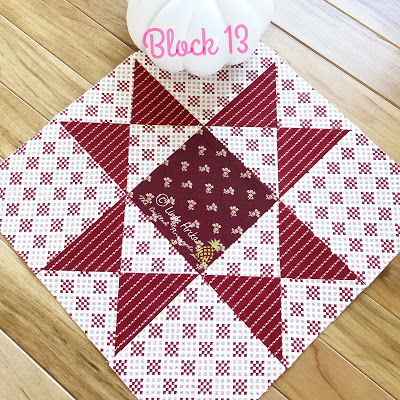
I think I love each block more than the last block. So much to love. Another example of the impact of fabric placement. Stripes with the contrast of the background print make a huge visual impact. LOVE. Directions for Block 13 here.
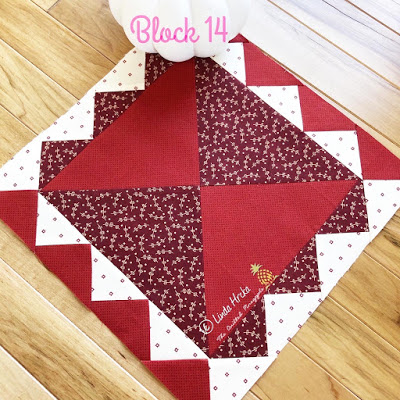
Block 14 – Along Comes Mary
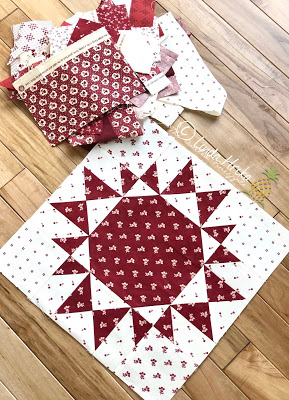
Block 16 – Just Call Me Diva
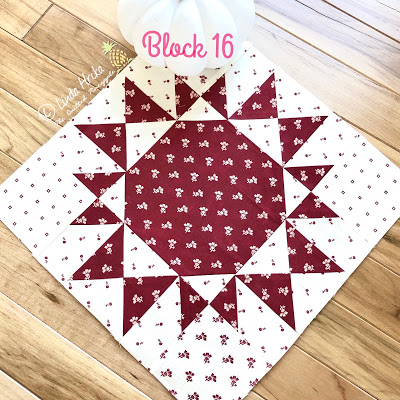
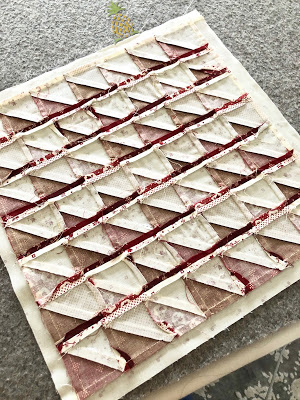
I think I used 3 different backgrounds on this block. One thing about sewing up sampler quilts, you end up with a ton of smaller pieces. I love to use those pieces up, so I will mix them into my blocks.
I used the the Simple Folded Corners Ruler by Antler Quilt Designs here. Wow, is this an awesome ruler to have! No drawing lines first across squares and then stitching and trimming to get those triangles on the ends of the rectangle pieces. Genius. You’ll wonder how you managed without it.

Line the ruler up on the 1/4″ line from corner to corner and cut along ruler edge.
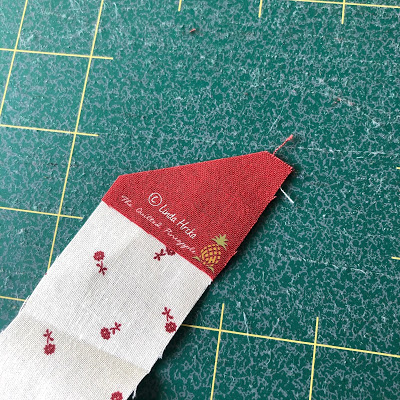
Then Stitch from corner to corner.
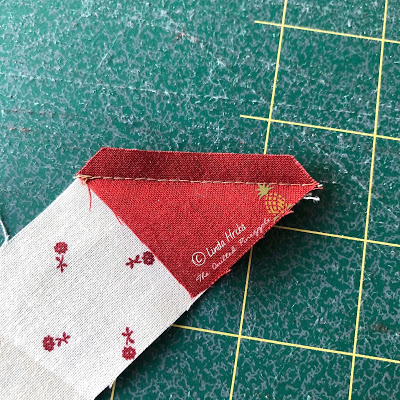
Press.
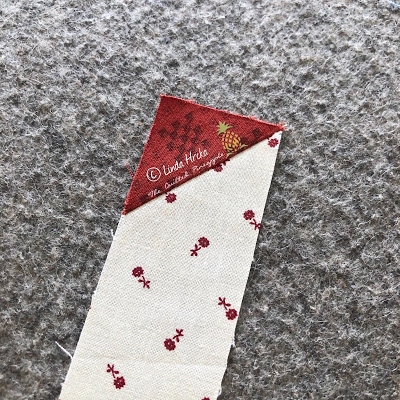
Perfect and accurate! And so much faster than drawing the line first. Directions for Block 16 here.
Well, that catches us up on blocks! Hope you all made until the end of this post. 🙂 It is fall harvest time.