I thought I would share a little tutorial on how I quilted the poinsettia motif in the corners of Christmas Stars. Of course I didn’t think about taking step-by-step photos until I was quilting the bottom border. The tutorial is kind of upside down. 🙂 On the flip side, it will give you an accurate perspective of what it is like to quilt a motif on the opposite end of the quilt.
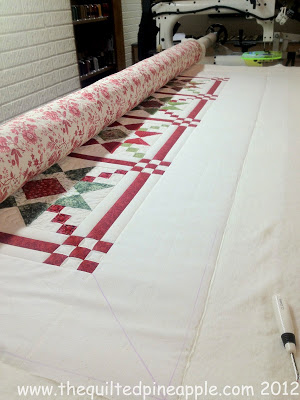
I have taken a purple air erasable marker and marked my quilting area. The center of the corner and binding allowance. This way I don’t quilt too far out on the edge of the quilt and I can line my template up with the corner line.
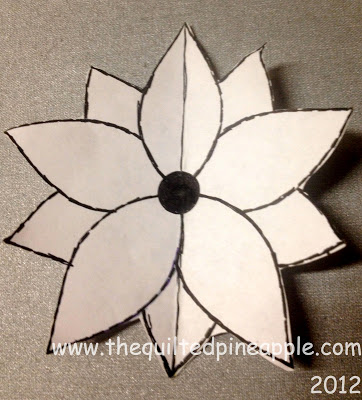
Here is my homemade template. 🙂 Nothing fancy. I used one of my circle templates as a guide of how big my poinsettia should be. Normally, I would draw or copy it onto card stock, but I was only using it 4 times and I needed it to be thin in this case.
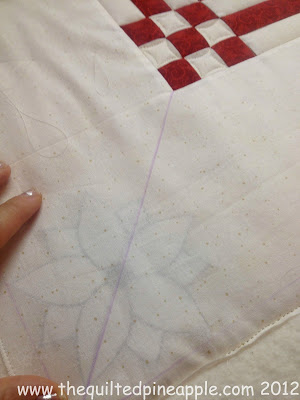
Excuse my badly in need of a manicure nails. 🙂 No time for those things. Fortunately on this quilt, the borders were in a light fabric. I just slid my template in between the fabric and batting. I lined up my center line on the template with the one drawn on the fabric. Making sure my petals were just inside the lines drawn for the binding allowance. If my borders had been dark…I would have two options…trace around my template from the top OR make one of my girls use a flashlight from under the quilt!! The later works very well. 🙂 Just make sure you shut off the overhead light, so you can really see the lines of the template.
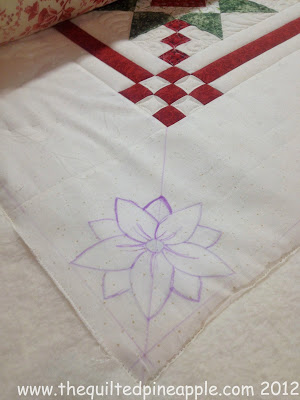
All traced on. You can see on the one side I left space to slide the template in and out. Now just stitch out the design. Make sure to remove your template first. 🙂
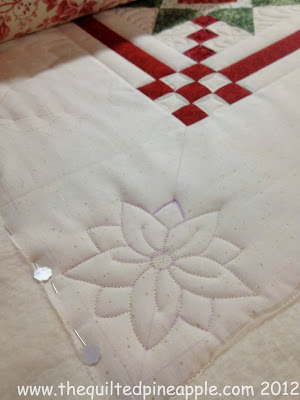
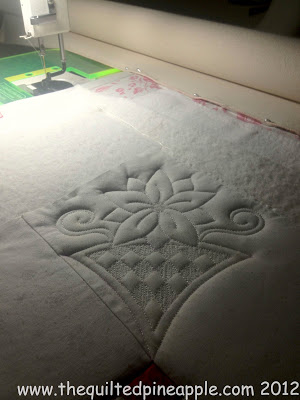
I placed some pins on the side before I started stitching to keep the fabric from pulling in from the quilting. My poinsettias are not perfect, but consistent. I figure if one of them doesn’t look like a geranium, then I am doing okay. 🙂 They are freehand. Next, I quilted the flower basket. Again I used a make shift template as a guide and my curved ruler. The ruler is my #8 QP Curve Template available here
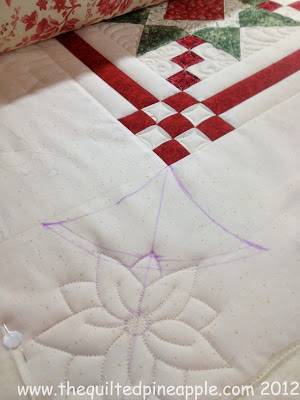
Full set of the Original QP Curves and other templates I offer here. I use the drawing just as a guide to line up my ruler.
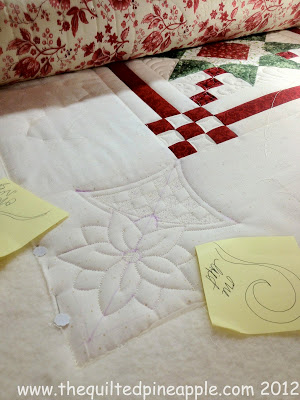
Those are my little reminders to make sure I put the ribbon swirls going in the right direction. 🙂 I find taking notes and photos very helpful tools.
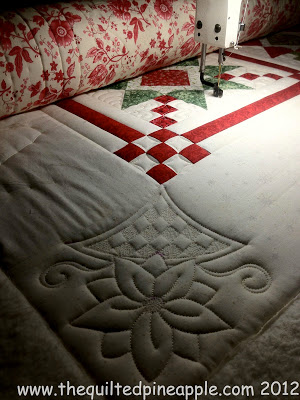
All stitched out. I quilted a basket weave design by quilting straight lines back and forth in every other diamond. Simple, but gives the design even more dimension. Next time I will take photos of me stitching the cross hatching out. I will probably have to have one of my little helpers take those pics. 🙂